Step 01
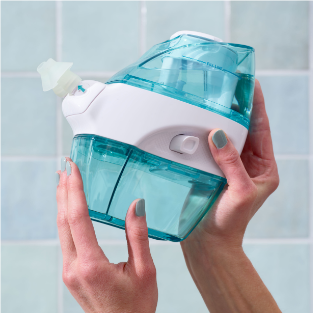
UPPER AND LOWER TANKS:
After each use, detach and hand-wash with warm water and liquid soap.
Cart
Your cart is empty

NAVÄGE NOSE CLEANERS MUST BE CLEANED AFTER EACH USE.

UPPER AND LOWER TANKS:
After each use, detach and hand-wash with warm water and liquid soap.
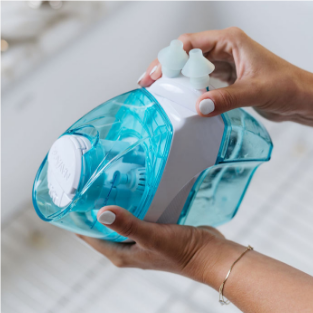
MECHANICAL MODULE:
Mechanical Module is not waterproof, do not immerse it in water. Instead, wipe the underside of the white Mechanical Module with a damp cloth that contains a little liquid soap. If the battery compartment is exposed to water, it can cause corrosion.
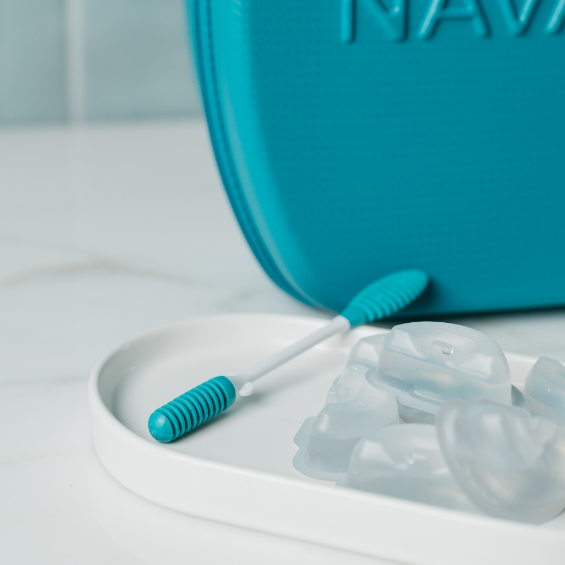
DRAIN PIPES, NOSE PILLOWS & NASAL DOCK:
Put a drop of liquid soap on the included Scrubber and thoroughly clean the inside surfaces. To rinse, lift the Drain Pull and run hot water through the opening. Next, clean the Nose Pillows and Nasal Docks by detaching them and following the same cleaning steps.
Note: To avoid corrosion, please keep the Lower Tank on while rinsing the Mechanical Module.
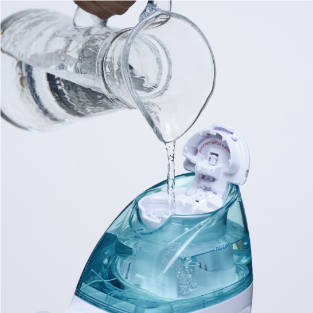
CRUSHING CHAMBER LID:
Rinse the inside of the crushing chamber and lid with hot water for 30 seconds to melt any salt crystals.
The Countertop Caddy provides a convenient place for the separated Tanks, Nasal Dock, and Nose Pillows to dry after each cleaning.
Spray parts with an anti-bacterial spray every 10 uses. Let the parts sit for 10 minutes and rinse thoroughly, but do not rinse the underside of the Mechanical Module.
For additional information view our Owner's Manual.